Cart
0
Changing a light fitting may seem like a complex task, but with the right knowledge, tools, and safety precautions, it can be a manageable and satisfying DIY project. Whether you're upgrading your old fixtures for aesthetic appeal, improving energy efficiency, or replacing damaged units, knowing how to properly install a new light fitting is essential for safety and functionality.
In this guide, we'll walk you through each step of the process, from preparation to installation and troubleshooting, using language that even a beginner can understand.
Why Homeowners Change Light Fittings
There are several reasons why homeowners opt to change their light fixtures:
-
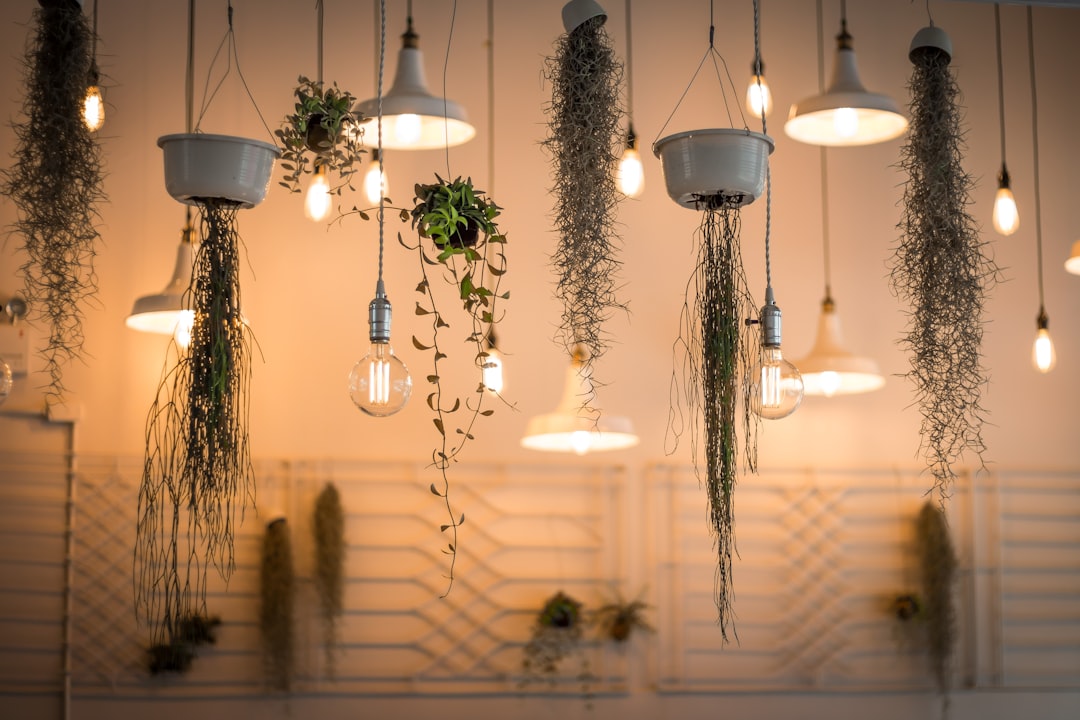
Style Upgrades: Outdated or unattractive fixtures can clash with your interior design. A sleek pendant lighting fixture can transform a space with a modern touch.
-
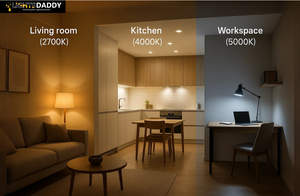
Improved Lighting: Replacing a dim or poorly located fixture with more effective indoor lights can enhance the ambiance and functionality of a room.
-
Energy Efficiency: Swapping old, energy-draining fixtures with newer models can significantly reduce energy bills.
-
Outdoor Illumination: Homeowners also frequently upgrade their outdoor lighting for better security and curb appeal.
-
Faulty Fixtures: Safety concerns often prompt a fixture replacement, especially if the light is flickering, sparking, or non-functional.
Safety Precautions
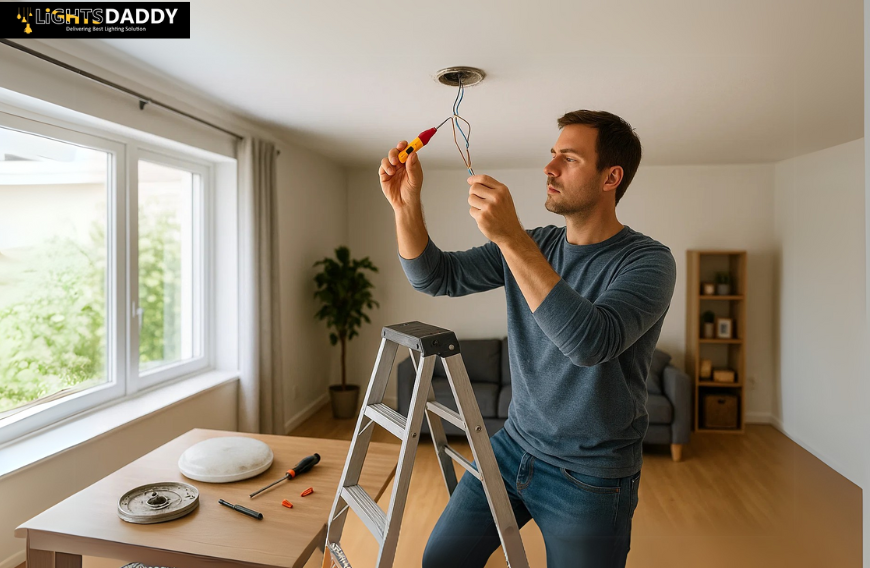
Before you even think about touching any wiring, safety should be your top priority.
-
Turn Off Power: Head to your electrical panel and turn off the circuit breaker that powers the light fixture you're replacing.
-
Use a Voltage Tester: Always verify that the electricity is truly off by using a voltage tester on the fixture wires.
-
Protective Gear: Wear rubber-soled shoes and safety goggles to protect against electrical shock and debris.
-
Insulated Tools: Make sure your screwdriver and wire stripper have insulated handles to prevent electrical conduction.
Tools and Materials Needed
Essential Tools:
-
Screwdriver (Phillips and flathead)
-
Voltage tester
-
Wire stripper
-
Wire nuts
-
Electrical tape
-
Ladder
Optional but Helpful:
-
Headlamp or flashlight (for low-light areas)
-
Power drill (for easier screw removal)
-
Circuit tester pen
-
Utility knife (to trim insulation if needed)
Also, ensure your replacement light fixture includes all the necessary light fixture components.
Removing the Old Light Fitting
-
Remove Light Bulbs and Covers: Start by removing the light bulb and any decorative shades or covers.
-
Unscrew the Fixture: Loosen and remove the screws that attach the light fixture to the mounting bracket.
-
Expose the Wiring: Carefully lower the fixture to reveal the electrical wires.
-
Test for Electricity Again: Use the voltage tester one more time to ensure no electricity is flowing through the wires.
-
Disconnect Wires: Carefully disconnect the black (hot), white (neutral), and green or bare (ground) wires. You may need to unscrew wire nuts or gently untwist the wires.
Preparing for the New Fixture
-
Inspect the Electrical Box: Look for cracks, wear, or corrosion. If the box is damaged, replace it before proceeding.
-
Check Weight Capacity: Make sure the electrical box is rated to hold the weight of your new fixture.
-
Install a New Mounting Bracket: Most fixtures come with a new mounting bracket. Remove the old one and install the new bracket per manufacturer instructions.
Installing the New Light Fitting
-
Connect the Wires:
-
Connect black to black (hot).
-
Connect white to white (neutral).
-
Connect green or bare wire to the ground wire or grounding screw.
-
Secure the Connections:
-
Use wire nuts to twist the wires together securely.
-
Wrap electrical tape around each wire nut and connection point for added safety.
-
Attach the Fixture:
-
Align the fixture base with the mounting bracket.
-
Use the provided screws to attach the fixture securely.
-
Add Bulbs and Shades:
-
Screw in the appropriate light bulbs.
-
Reattach any shades or decorative elements that came with the new fixture.
If you're going for a modern, fun, or statement piece, consider options like neon lights that add a unique flair to your space.
Testing the New Fixture
-
Restore Power: Flip the circuit breaker back on.
-
Flip the Switch: Turn on the wall switch to activate the new fixture.
-
Check for Issues: Make sure the fixture is working correctly and that the light is even and flicker-free.
-
Stability Check: Gently touch the fixture to ensure it's firmly mounted and doesn’t wobble.
Troubleshooting Common Issues
Sometimes things don’t go as planned. Here are a few issues you might encounter and how to fix them:
Flickering Lights
-
Possible Causes: Loose wire connections, incompatible bulbs, or faulty sockets.
-
Fix: Double-check wire connections and make sure you're using the correct bulb type.
Fixture Doesn’t Turn On
-
Possible Causes: Breaker not reset, switch problem, or incorrect wiring.
-
Fix: Test the wall switch and check all wire connections again. Use a voltage tester to confirm power flow.
Tripped Circuit Breaker
-
Possible Causes: Short circuit or overloading.
-
Fix: Check that no wires are touching improperly and ensure the fixture is not too powerful for the circuit.
If issues persist, it’s best to consult a licensed electrician rather than risk a DIY misstep.
Final Tips for a Successful Lighting Change
-
Plan Ahead: Before buying a new fixture, know your ceiling height, room size, and intended use for the space.
-
Style Consistency: Ensure your new fixture matches your overall interior or exterior aesthetic. For example, use cohesive styles across your indoor lights or outdoor lighting schemes.
-
Use Quality Products: Opt for high-quality light fittings and components to ensure longevity and safety.
-
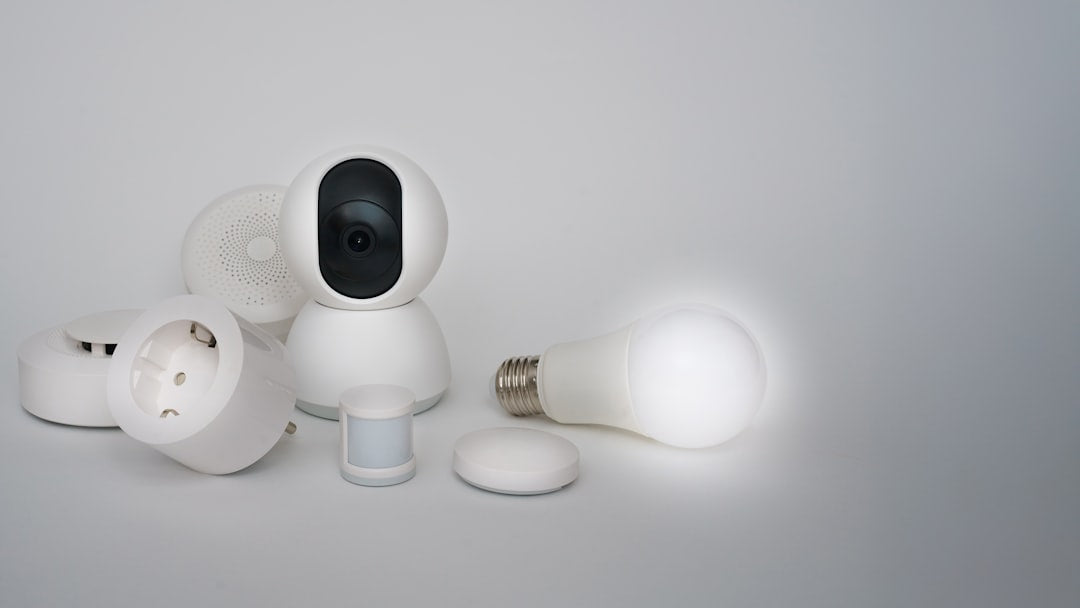
Upgrade When Possible: If you’re doing a lighting change anyway, consider upgrading to energy-efficient LED bulbs or smart home-compatible lighting.
-
Check Local Codes: In some areas, changing hardwired fixtures may require a permit or need to be inspected, especially if you're doing significant rewiring.
Conclusion
Changing a light fitting is a rewarding project that can immediately enhance your living space. From improved functionality and safety to energy savings and style, the benefits are tangible. By following proper procedures—starting with safety and ending with secure installation—you can take control of your home's lighting with confidence.
Remember, while DIY projects are empowering, knowing your limits is equally important. If you ever feel unsure about working with electricity, don’t hesitate to call in a professional.